Creating new icons
by AllGrey
You will need:
- XnView (or Photoshop/GIMP)
- ObjView (can be found in Mod Bundle)
- ArtIcons Pro
- Irfan View
- ShpEd (can be found in Mod Bundle)
Step 1
1. Launch XnView
2. Adjust Capture Mode
2. Adjust Capture Mode

3. Launch ObjView
4. Open 3D Model
5. Turn model so it faces in the necessary position6. Reduce Zoom.
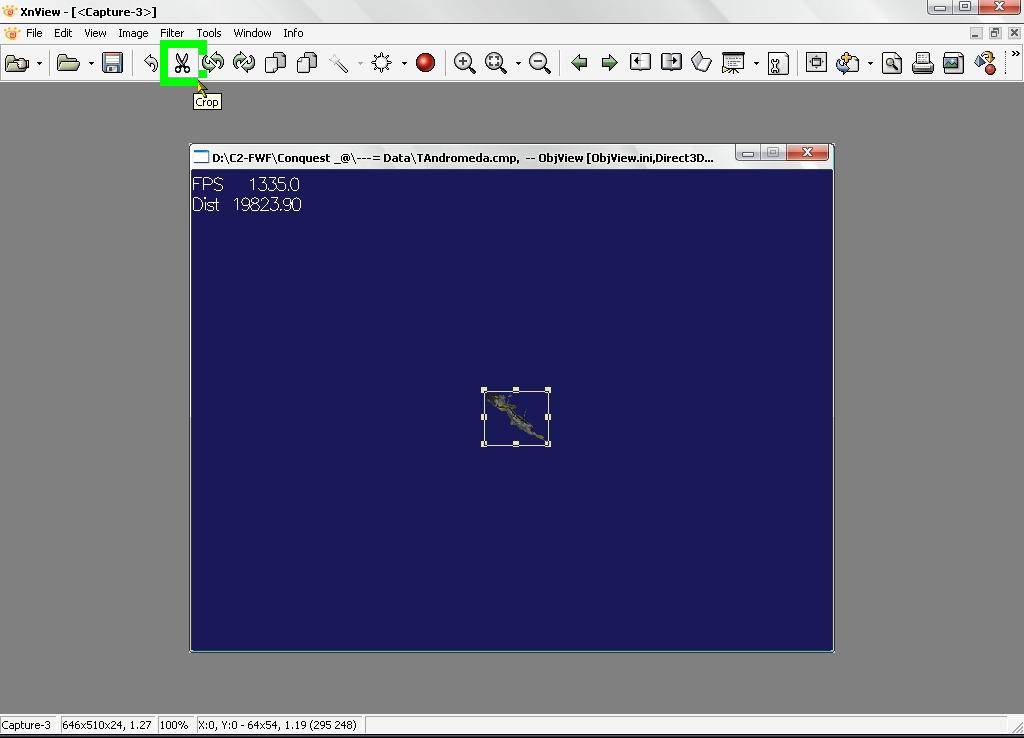
6. Push F10 key
7. Select the necessary part to 64х54 pixels
8. Click "Crop"
4. Open 3D Model
5. Turn model so it faces in the necessary position6. Reduce Zoom.
6. Push F10 key
7. Select the necessary part to 64х54 pixels
8. Click "Crop"
9. Correct the Icon
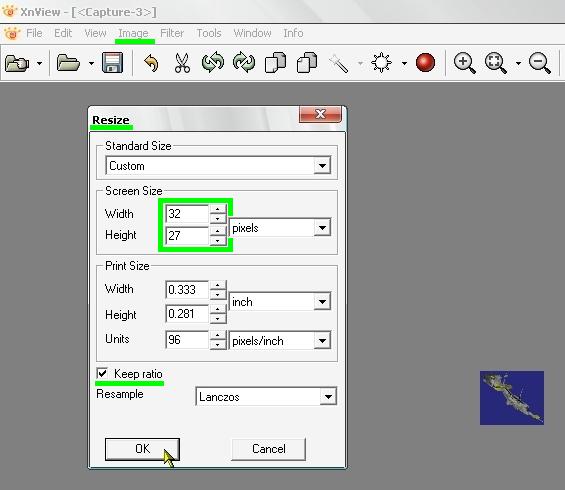
10. Reduce icon till the size is 32х27 pixels
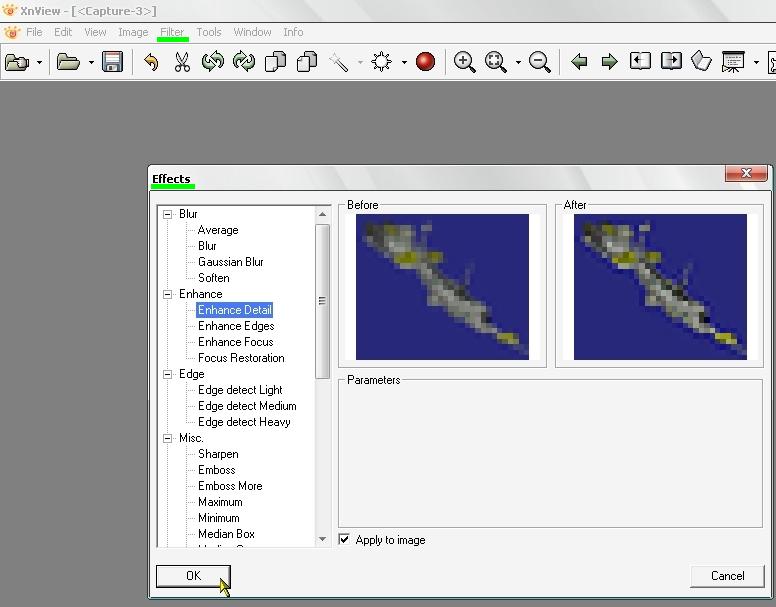
11. Increase the icon's sharpness
12. Save with a name, for example: Andromeda_1.bmp
Step 2
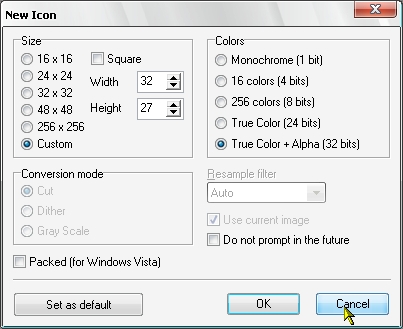
1. Launch ArtIcons Pro
2. If a window pops up click "Cancel"
2. If a window pops up click "Cancel"
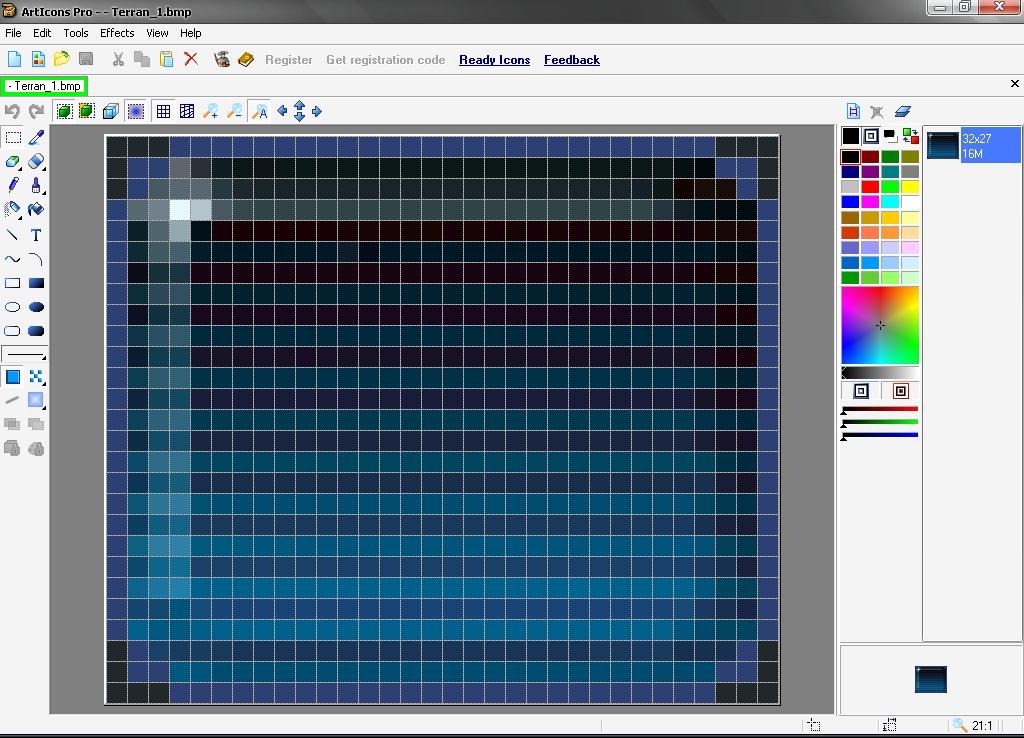
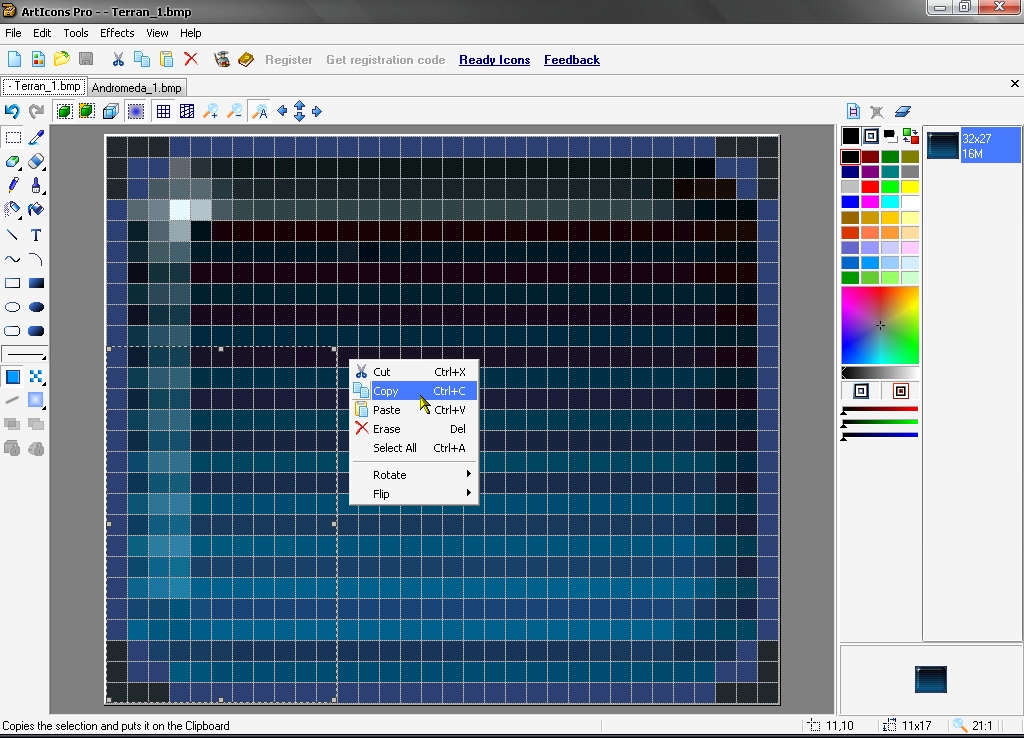
3. Open the empty Terran_1.bmp icon
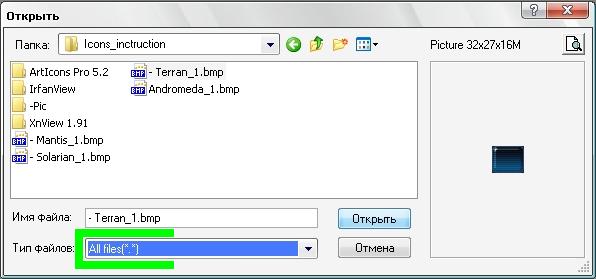
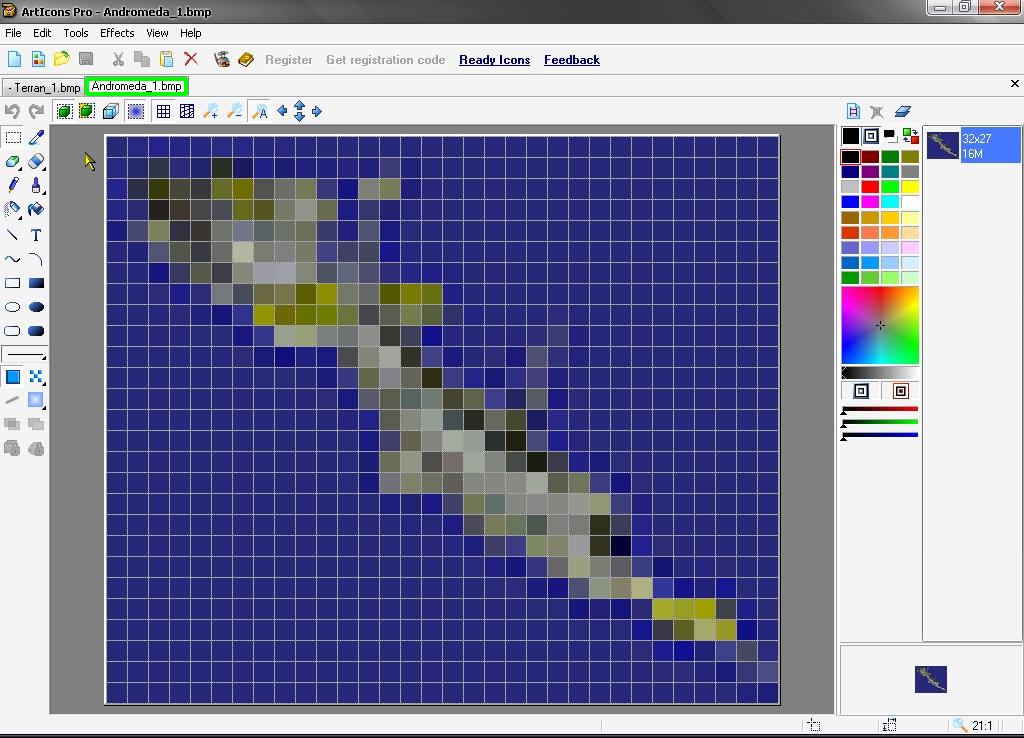
4. Open the Andromeda_1.bmp Icon
5. Select and copy part of the empty icon
6. Paste this into the Andromeda_1.bmp icon
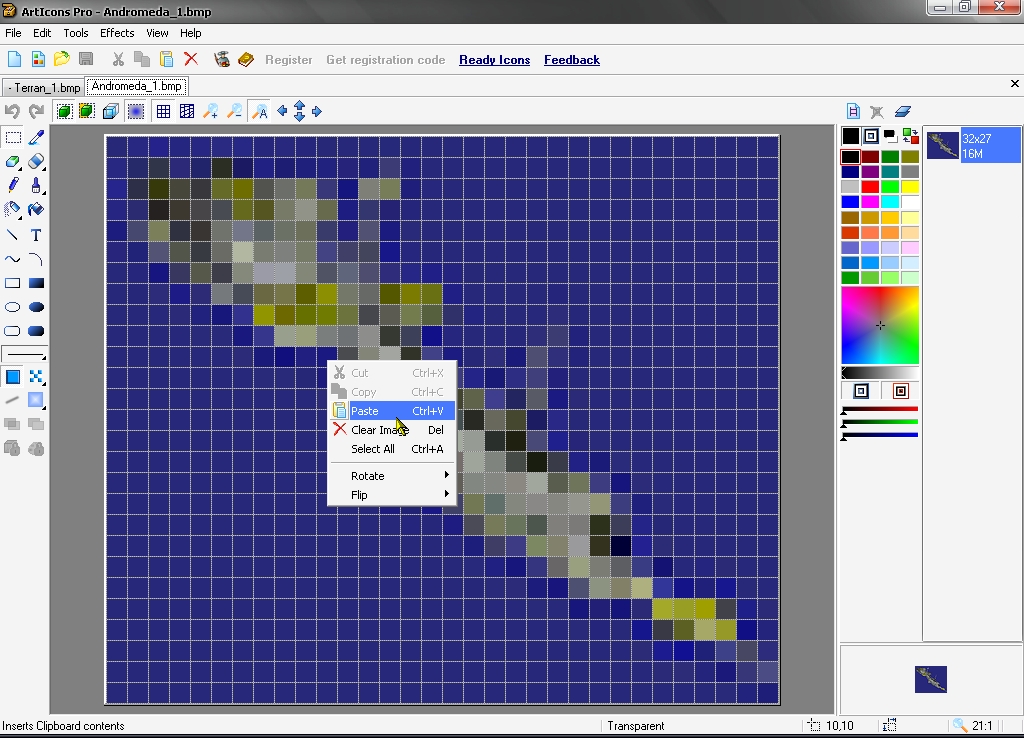
7. Move the copied element into the appropriate place
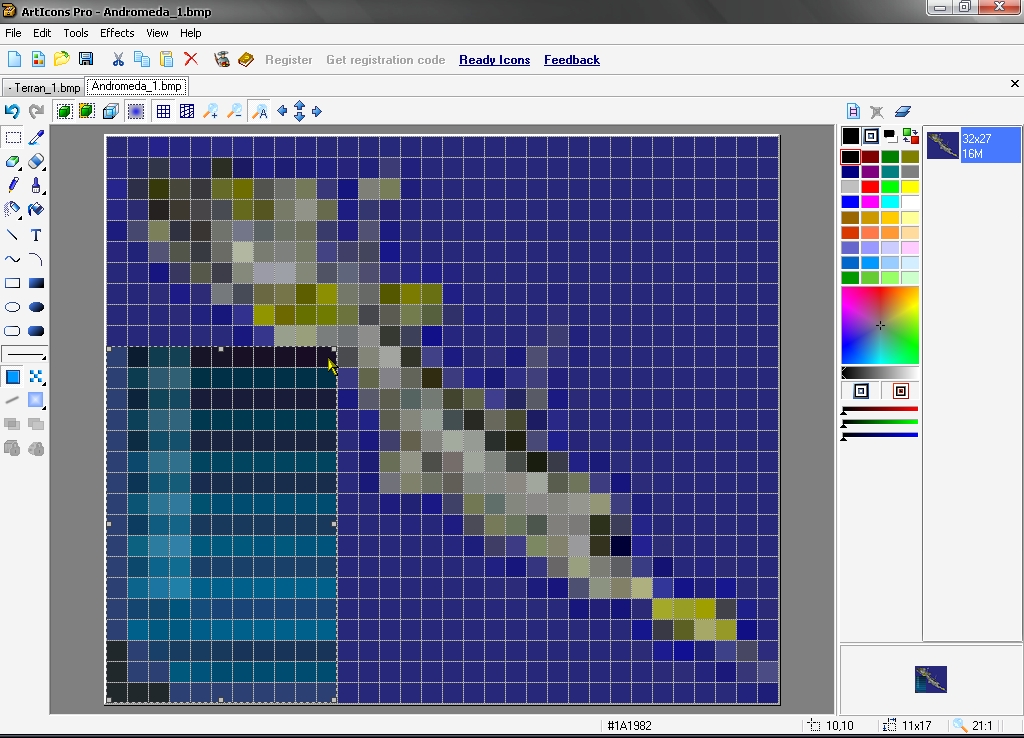
8. Repeat copying and moving until you get the desired result
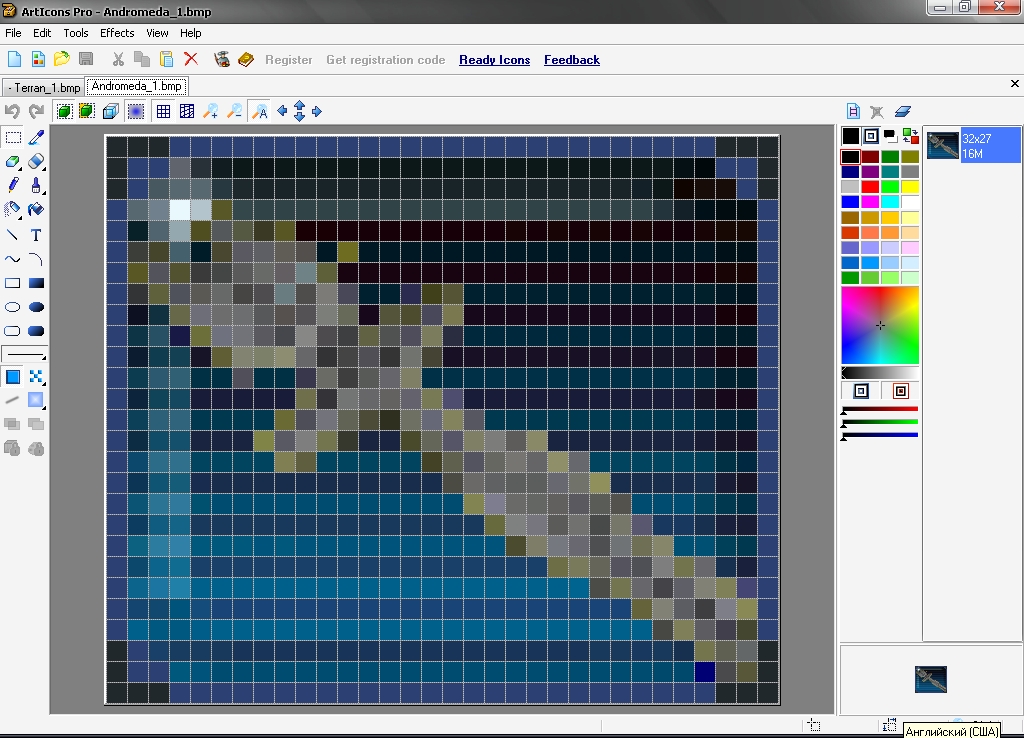
9. Save as Andromeda_1.bmp
Step 3
1. Launch XnView
2. Open Andromeda_1.bmp
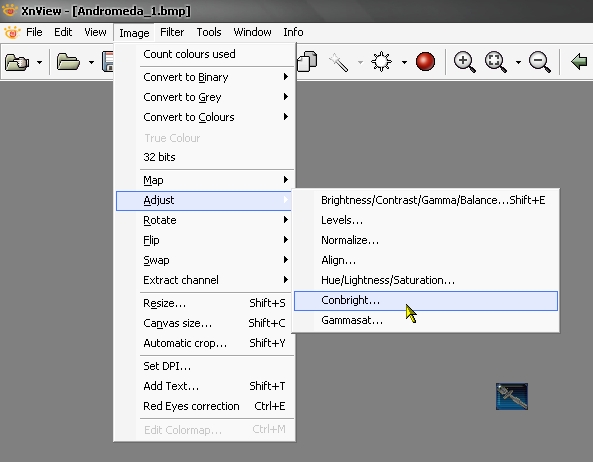
3. Open Image>Adjust>Conbright...
2. Open Andromeda_1.bmp
3. Open Image>Adjust>Conbright...
4. Reduce Conbright to -100
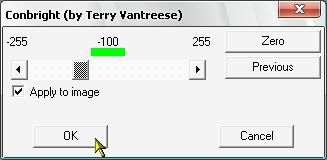

5. Save as Andromeda_2.bmp
Step 4
1. Launch XnView
2. Open Andromeda_1.bmp
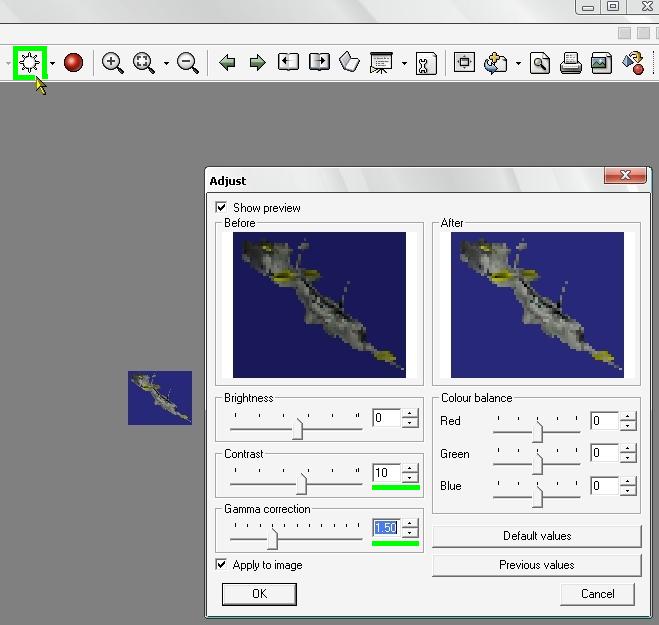
3. Click "Adjust"
4. Set Adjust Parameters
2. Open Andromeda_1.bmp
3. Click "Adjust"
4. Set Adjust Parameters


5. Save as Andromeda_3.bmp
Step 5
1. Launch Irfan View
2. Open Andromeda_1.bmp
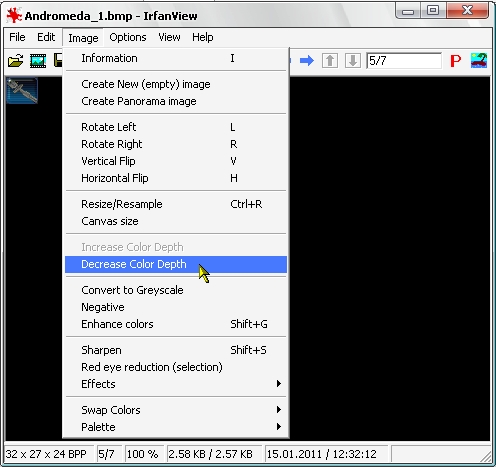
3. Open Image>Information>Decrease Color Depth
2. Open Andromeda_1.bmp
3. Open Image>Information>Decrease Color Depth

4. Open Image>Palette>Export Palette
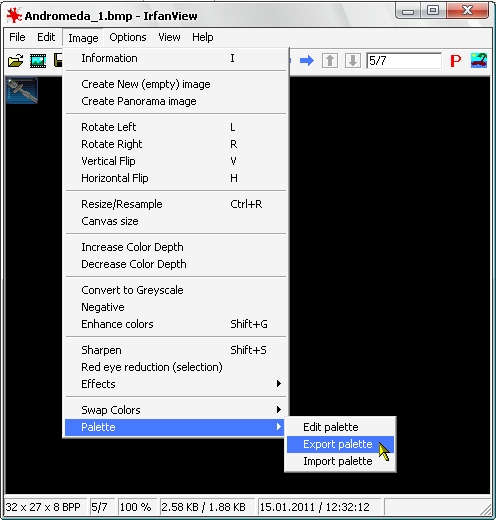
5. Save "palette" as Andromeda_1.pal
6. Repeat this for other files (Andromeda_2.bmp and Andromeda_3.bmp)
6. Repeat this for other files (Andromeda_2.bmp and Andromeda_3.bmp)
Step 6
How to add images to the end of a shp file
1. Click Load shp file and choose MainToolbar.shp
2. Enter a number in the window - Image # xxxx (Last # xxxx)
3. Click Show Image
4. Click Load a color palette - Andromeda_1.pal
5. Click Load bitmap from disk - Andromeda_1.bmp
6. Click Convert bmp to shp
7. Click Add image to end of ship file
8. Repeat actions for all icons:
- Andromeda_2.bmp
- Andromeda_3.bmp
- Additional 3x3 pixel
Step 7
Adding the icons to the toolbar - read this.
